> ## Documentation Index
> Fetch the complete documentation index at: https://prowler-mintlify-55c1f1a5.mintlify.site/llms.txt
> Use this file to discover all available pages before exploring further.
> ## Agent Instructions
> Prowler product naming: Prowler App is now Prowler Local Server, and Prowler Enterprise is now Prowler Private Cloud. Always use the current names when answering. The full product reference is at /getting-started/products: Open Source projects are Prowler CLI, Prowler Local Server, Prowler Local Dashboard, and Prowler SDK; Prowler Products are Prowler Cloud, Prowler Private Cloud, Prowler Hub, Prowler Lighthouse AI, and Prowler MCP.
# Basic Usage
## Access Prowler Local Server
After [installation](/getting-started/installation/prowler-app), navigate to [http://localhost:3000](http://localhost:3000) and sign up with email and password.
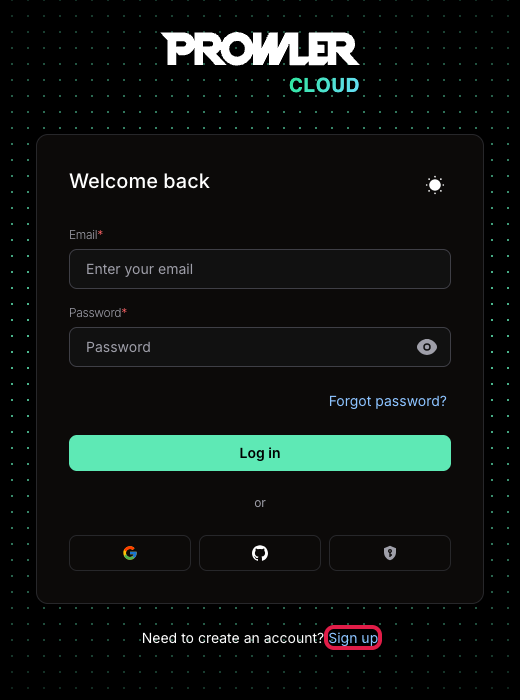
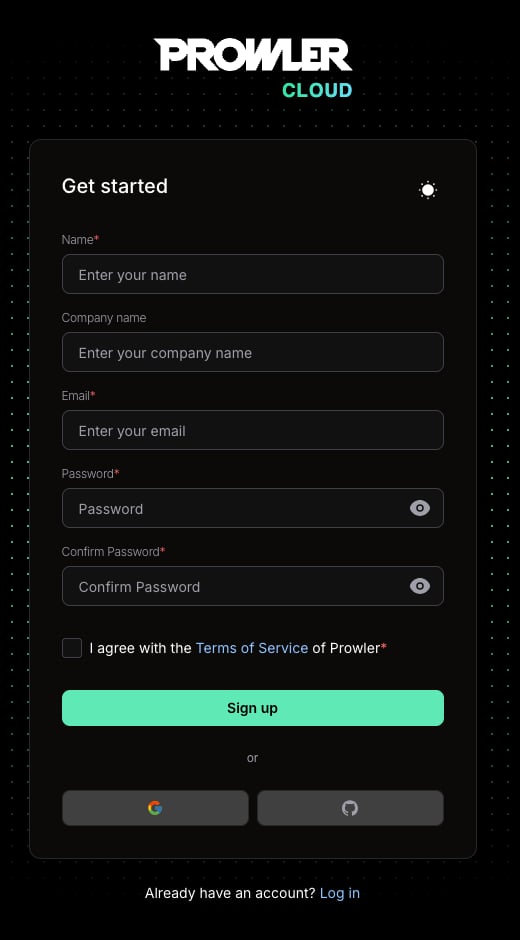 **User creation and default tenant behavior**
When creating a new user, the behavior depends on whether an invitation is provided:
* **Without an invitation**:
* A new tenant is automatically created.
* The new user is assigned to this tenant.
* A set of **RBAC admin permissions** is generated and assigned to the user for the newly-created tenant.
* **With an invitation**: The user is added to the specified tenant with the permissions defined in the invitation.
This mechanism ensures that the first user in a newly created tenant has administrative permissions within that tenant.
## Log In
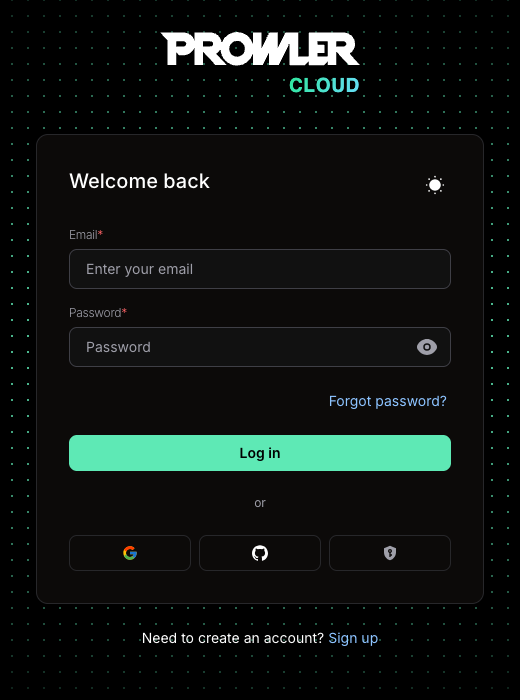
Access Prowler Local Server by logging in with **email and password**.
**User creation and default tenant behavior**
When creating a new user, the behavior depends on whether an invitation is provided:
* **Without an invitation**:
* A new tenant is automatically created.
* The new user is assigned to this tenant.
* A set of **RBAC admin permissions** is generated and assigned to the user for the newly-created tenant.
* **With an invitation**: The user is added to the specified tenant with the permissions defined in the invitation.
This mechanism ensures that the first user in a newly created tenant has administrative permissions within that tenant.
## Log In
Access Prowler Local Server by logging in with **email and password**.
 ## Add Provider
Configure a provider for scanning:
1. Navigate to `Settings > Providers` and click `Add Provider`.
2. Select the cloud provider.
3. Enter the provider's identifier (Optional: Add an alias):
* **AWS**: Account ID
* **GCP**: Project ID
* **Azure**: Subscription ID
* **Kubernetes**: Cluster ID
* **M365**: Domain ID
4. Follow the guided instructions to add and authenticate your credentials.
## Start a Scan
Once credentials are successfully added and validated, Prowler initiates a scan of your cloud environment.
Click `Go to Scans` to monitor progress.
## View Results
Review findings during scan execution in the following sections:
* **Overview** – Provides a high-level summary of your scans.
## Add Provider
Configure a provider for scanning:
1. Navigate to `Settings > Providers` and click `Add Provider`.
2. Select the cloud provider.
3. Enter the provider's identifier (Optional: Add an alias):
* **AWS**: Account ID
* **GCP**: Project ID
* **Azure**: Subscription ID
* **Kubernetes**: Cluster ID
* **M365**: Domain ID
4. Follow the guided instructions to add and authenticate your credentials.
## Start a Scan
Once credentials are successfully added and validated, Prowler initiates a scan of your cloud environment.
Click `Go to Scans` to monitor progress.
## View Results
Review findings during scan execution in the following sections:
* **Overview** – Provides a high-level summary of your scans.
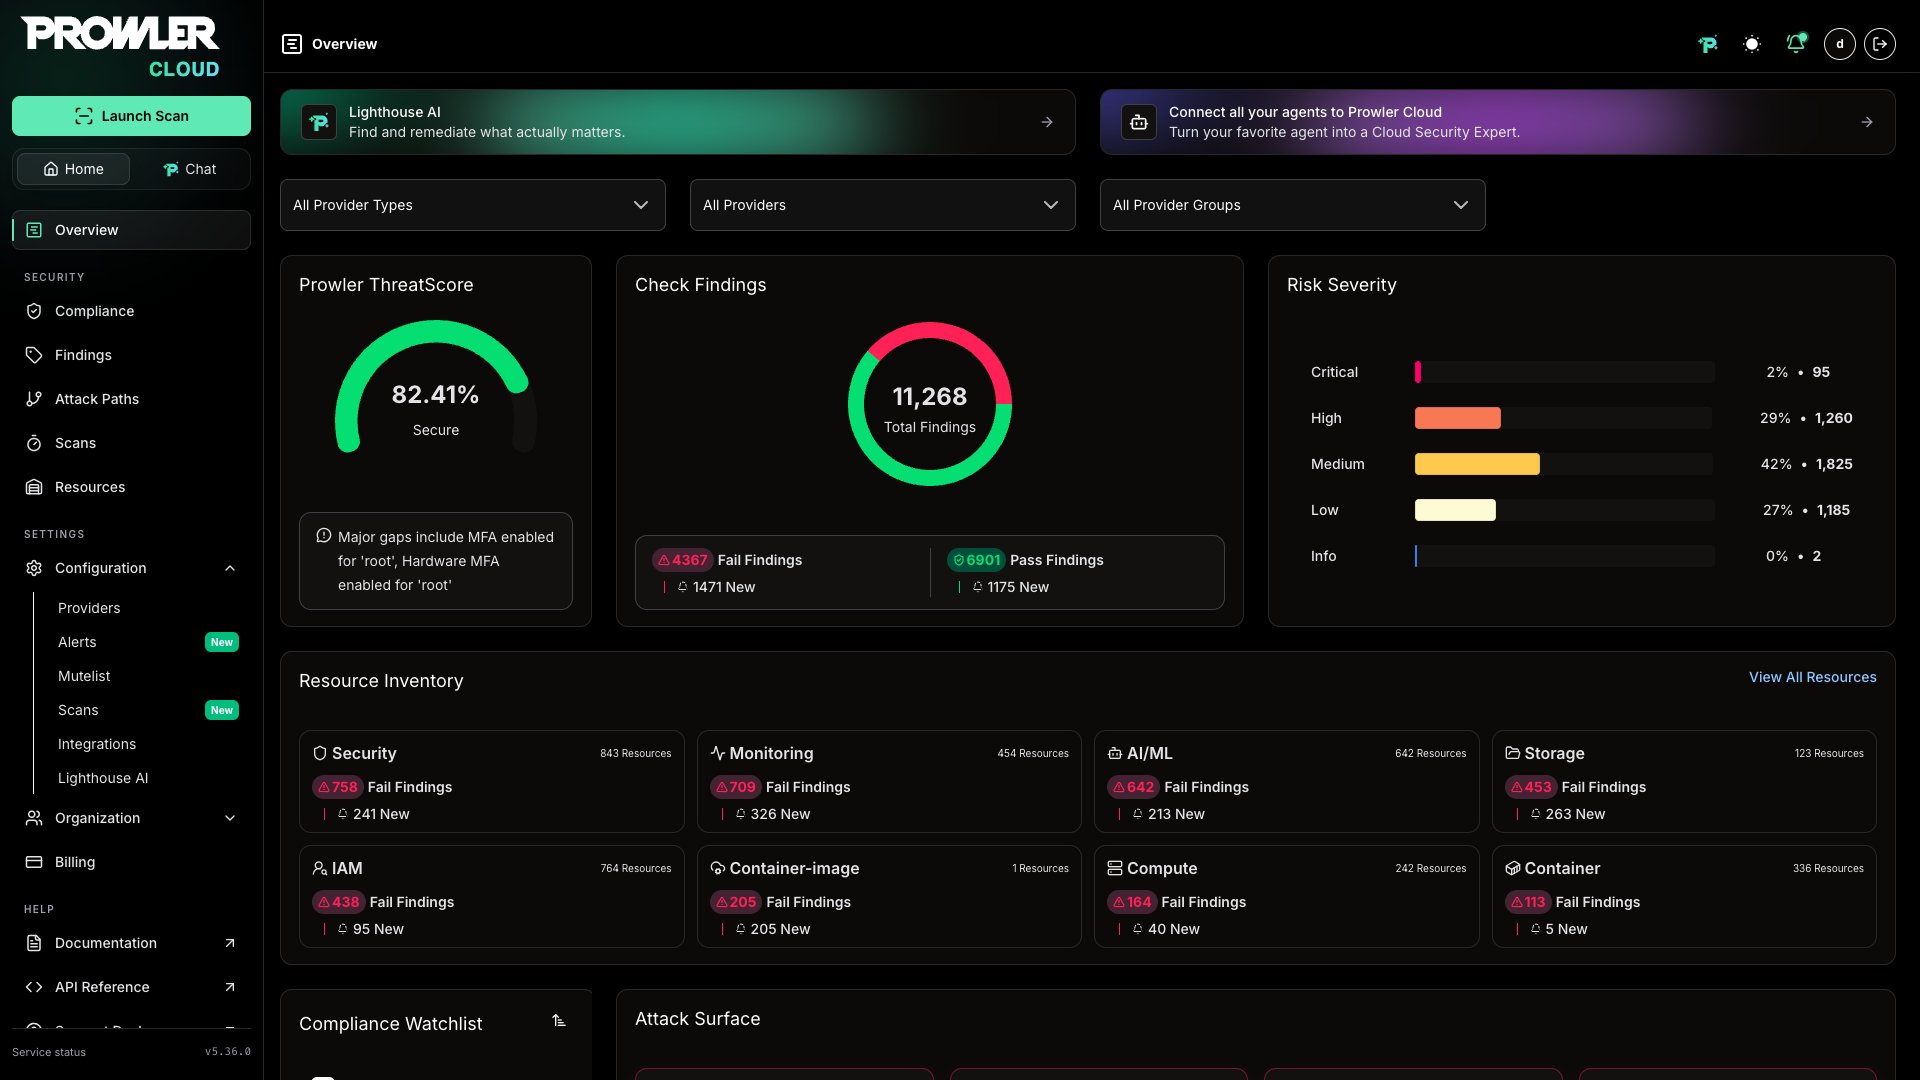 * **Compliance** – Displays compliance insights based on security frameworks.
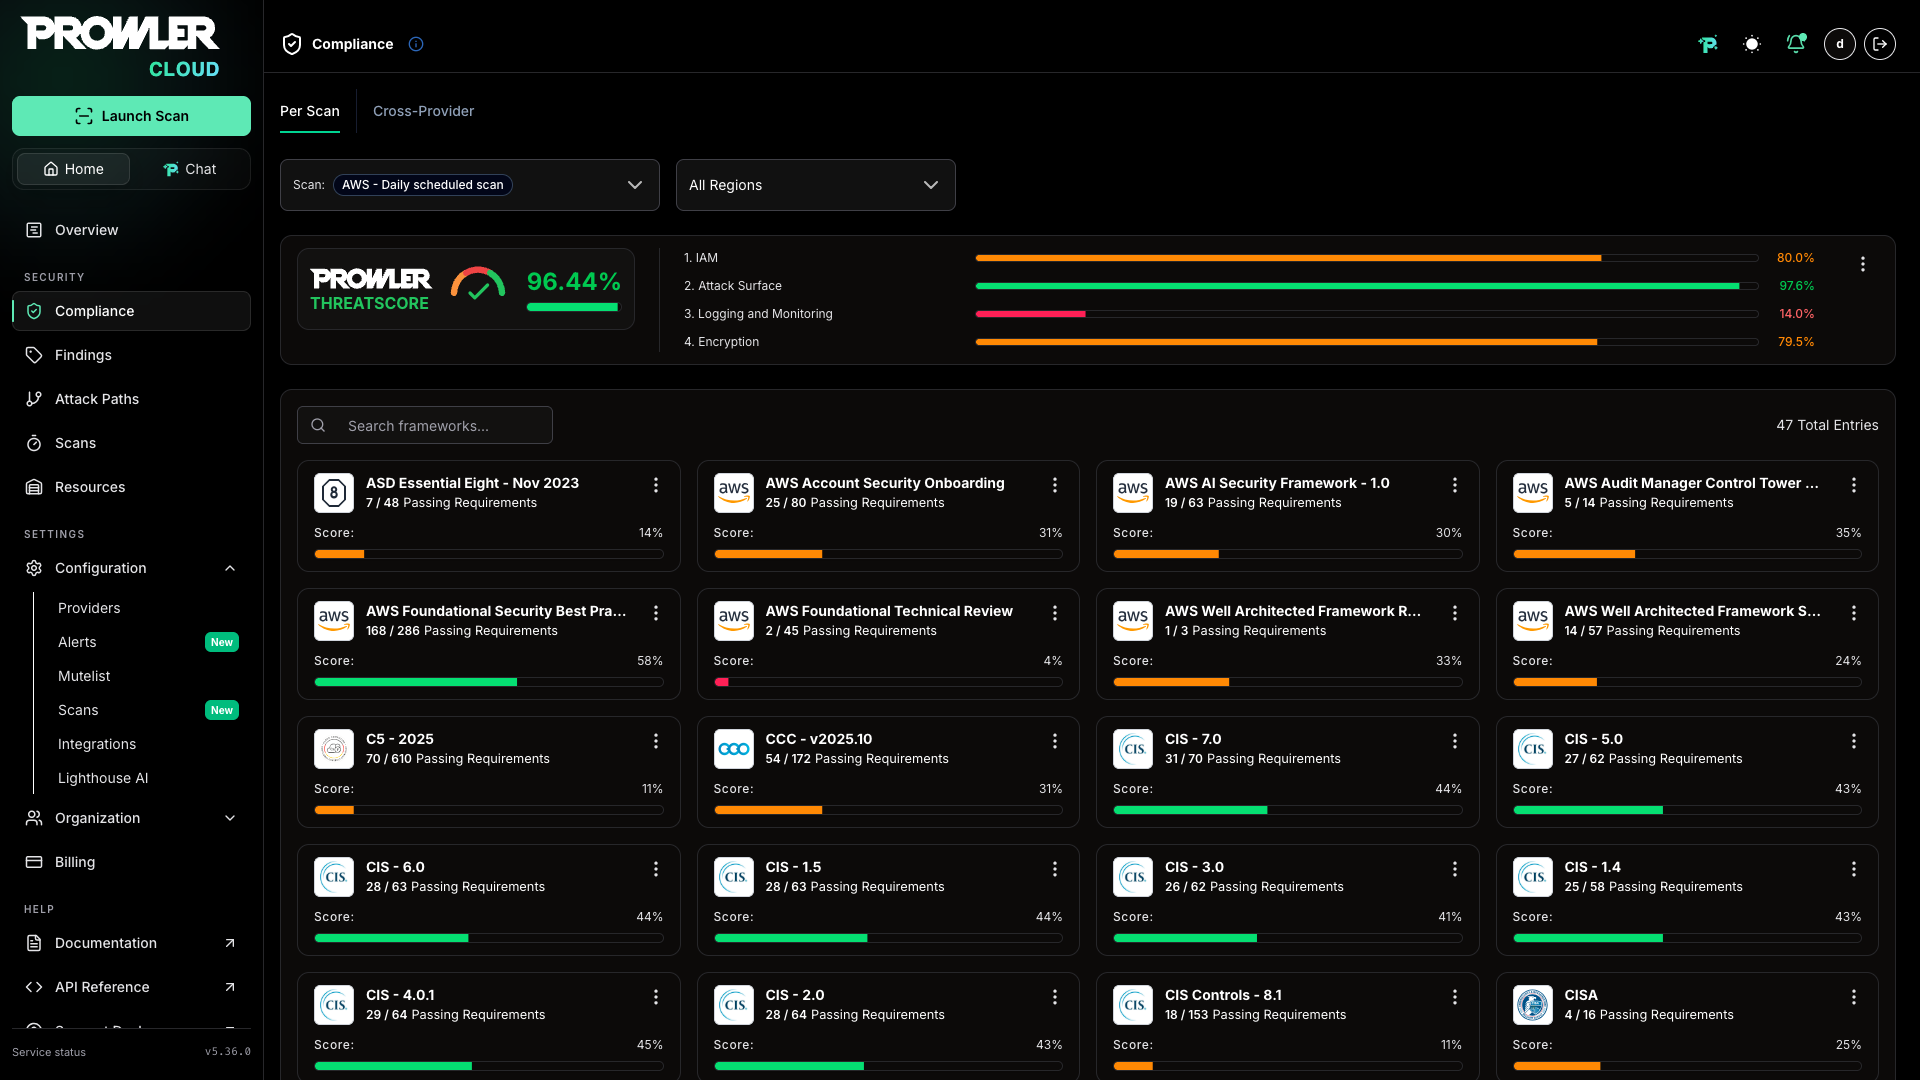 > For detailed usage instructions, refer to the [Prowler Cloud guide](/user-guide/tutorials/prowler-app), which also applies to Prowler Local Server.
Prowler will automatically scan all configured providers every **24 hours**, ensuring your cloud environment stays continuously monitored.
> For detailed usage instructions, refer to the [Prowler Cloud guide](/user-guide/tutorials/prowler-app), which also applies to Prowler Local Server.
Prowler will automatically scan all configured providers every **24 hours**, ensuring your cloud environment stays continuously monitored.